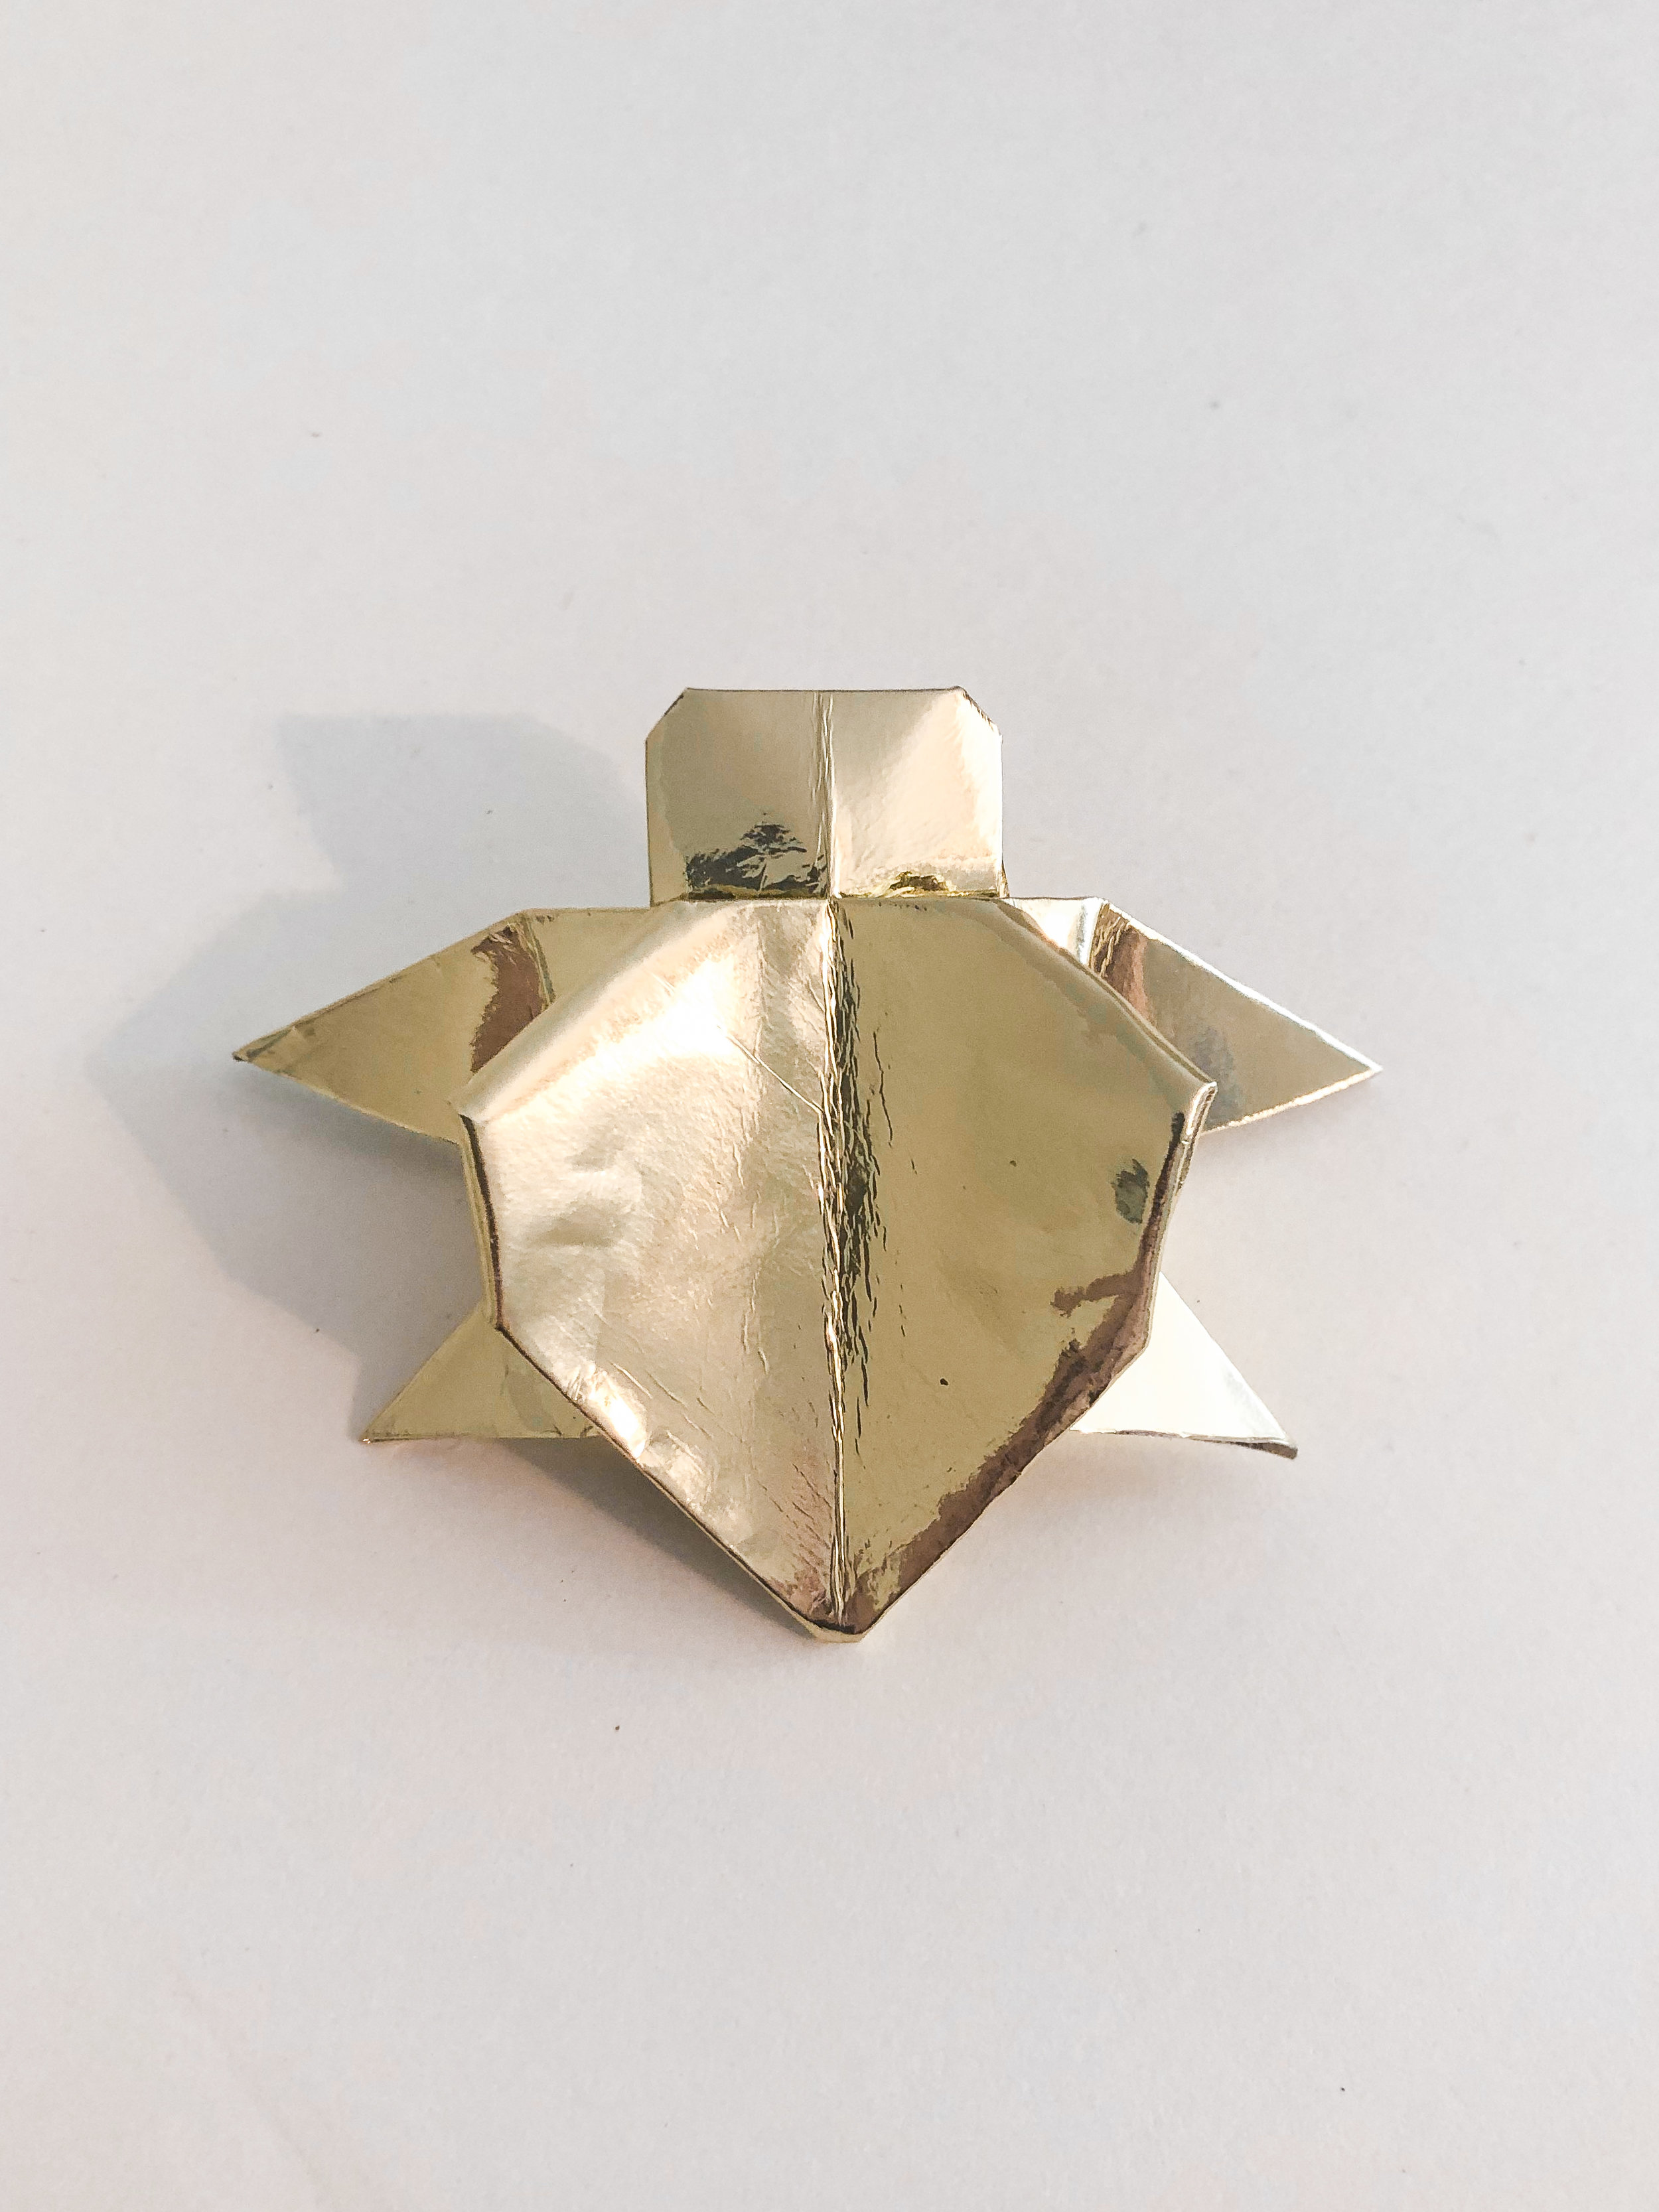
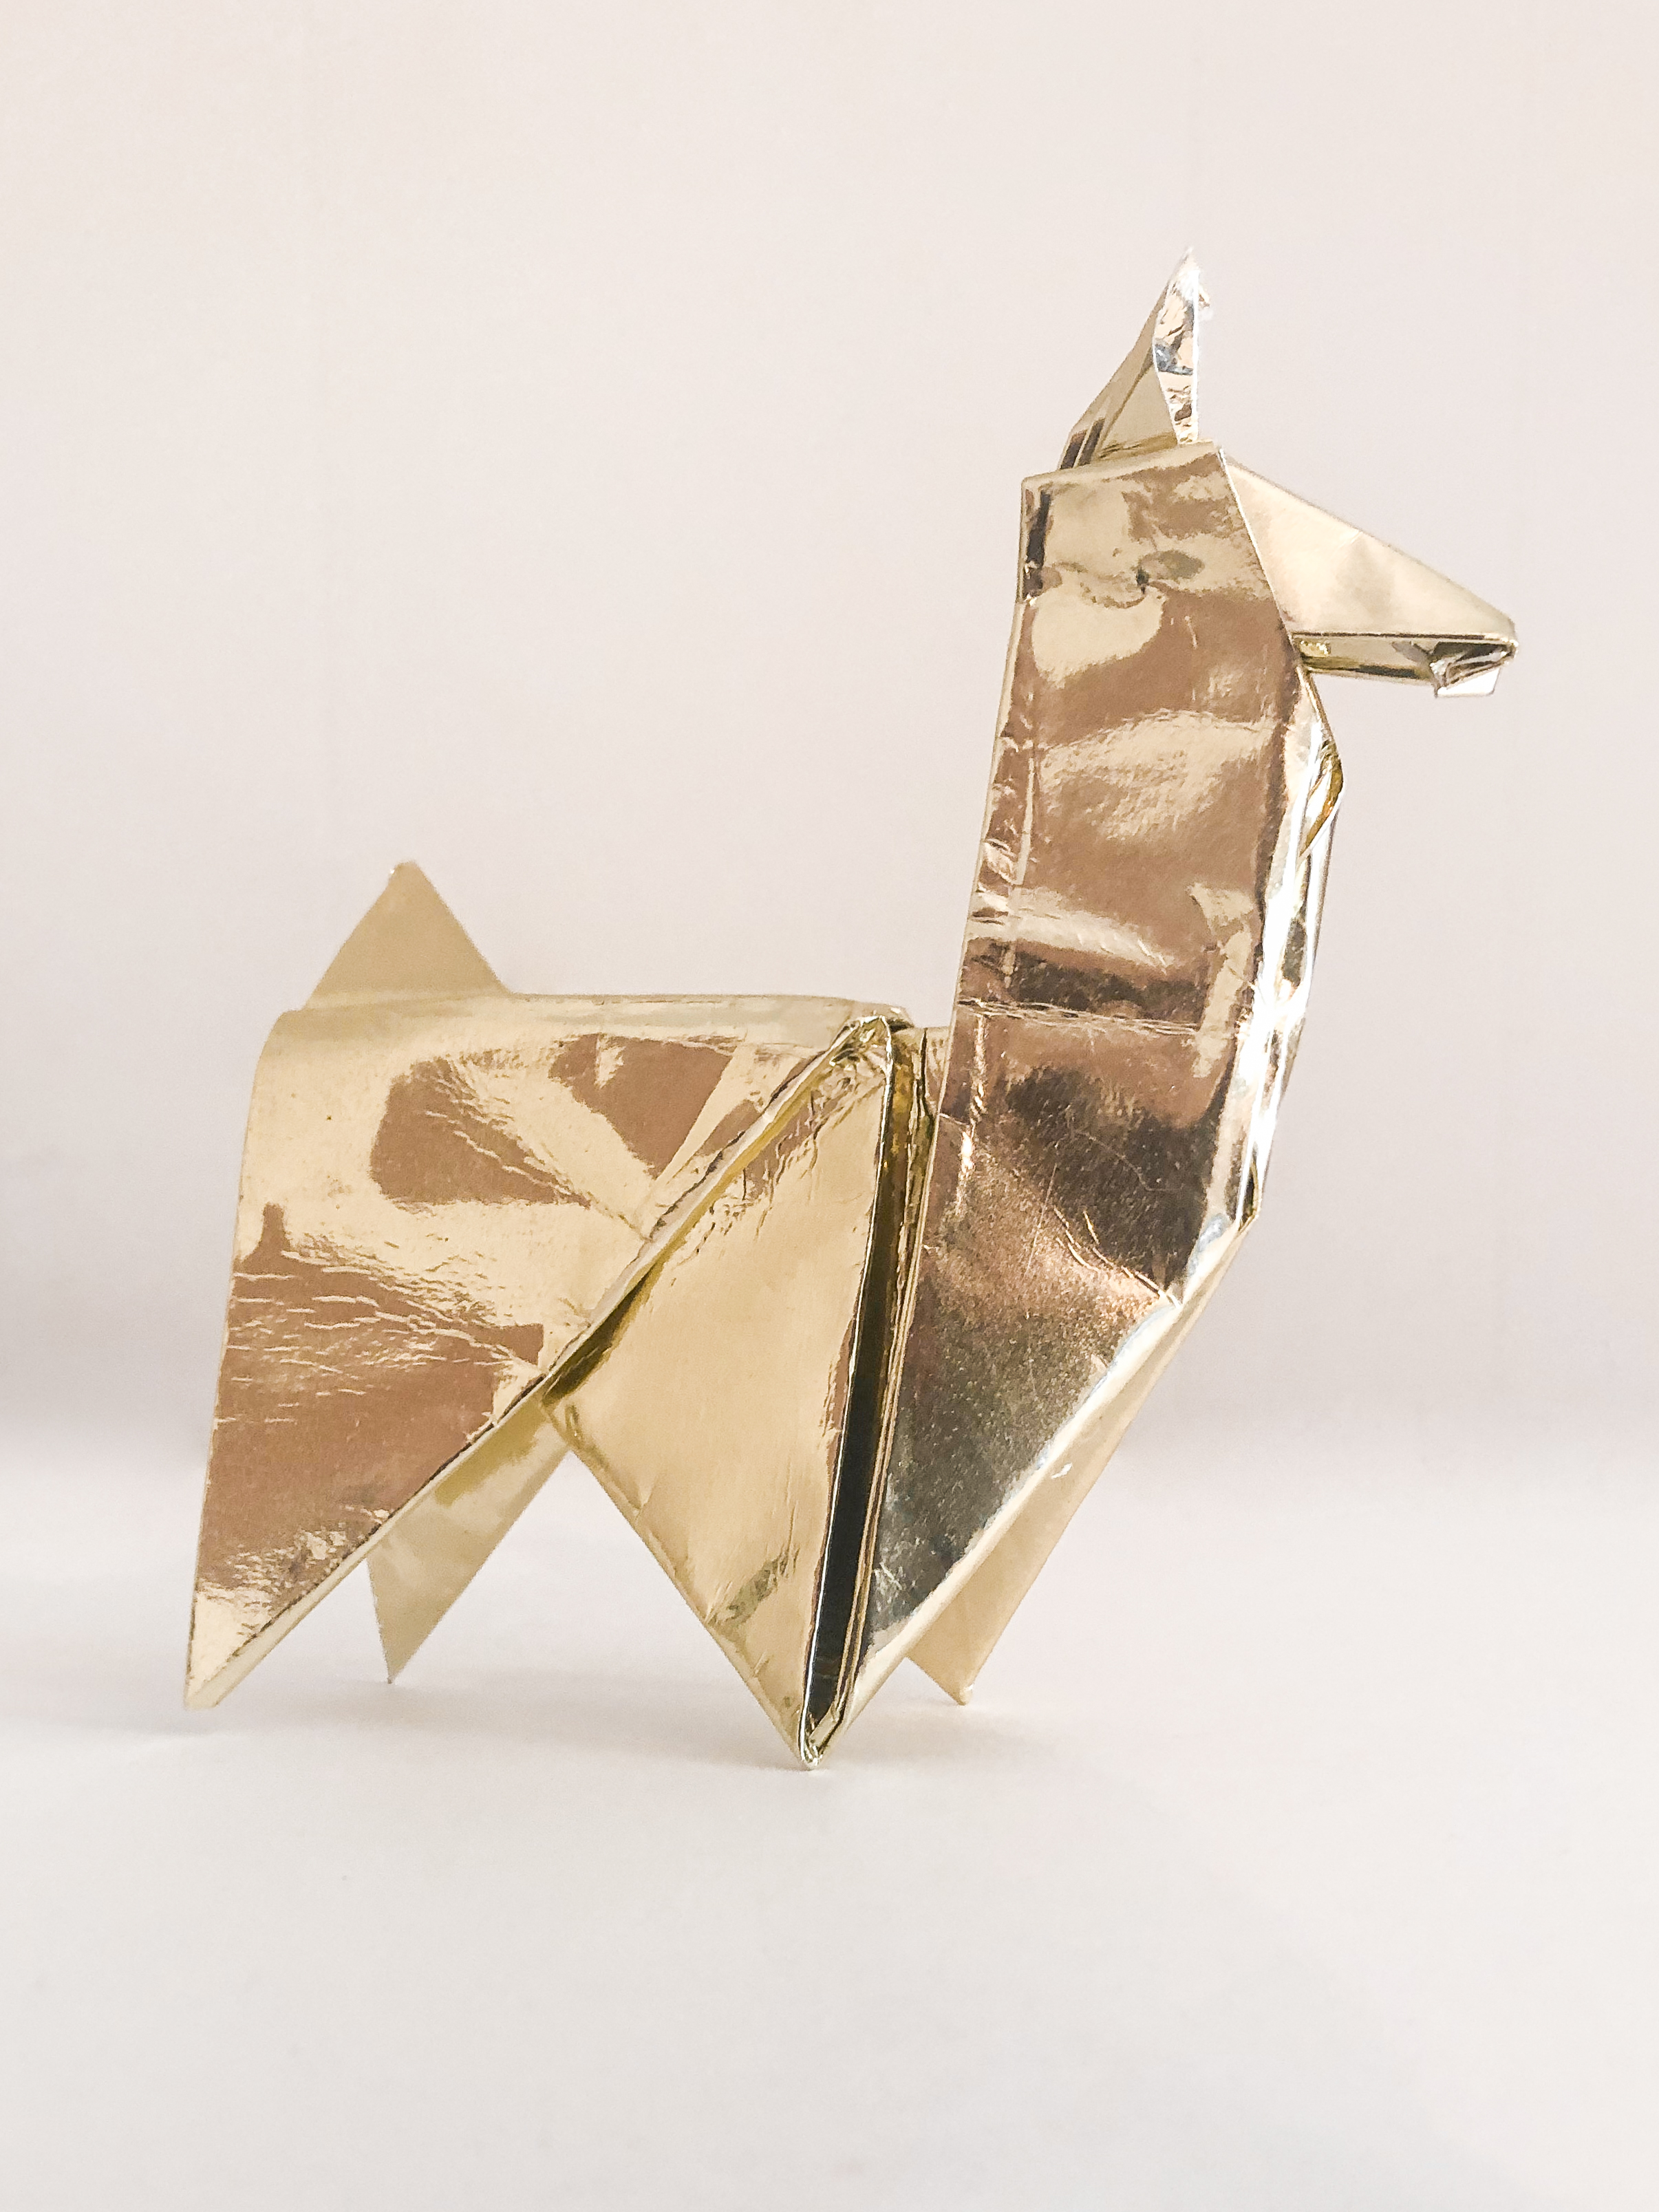
Folding Gold: How To Make Shiny Origami Animals!
“Hey, I need some big, gold, origami animals for this display, do you know anyone who does that?”
“Absolutely, let me give her a call.”
At which point, my phone rings.
My sister works for a wholesaler in Atlanta and they’ve been hard at work getting displays ready for the show. Her art director had the gorgeous idea of hanging big, gold origami animals with some new products they had, at which point my sister calls me and says “…you can do this, right?”
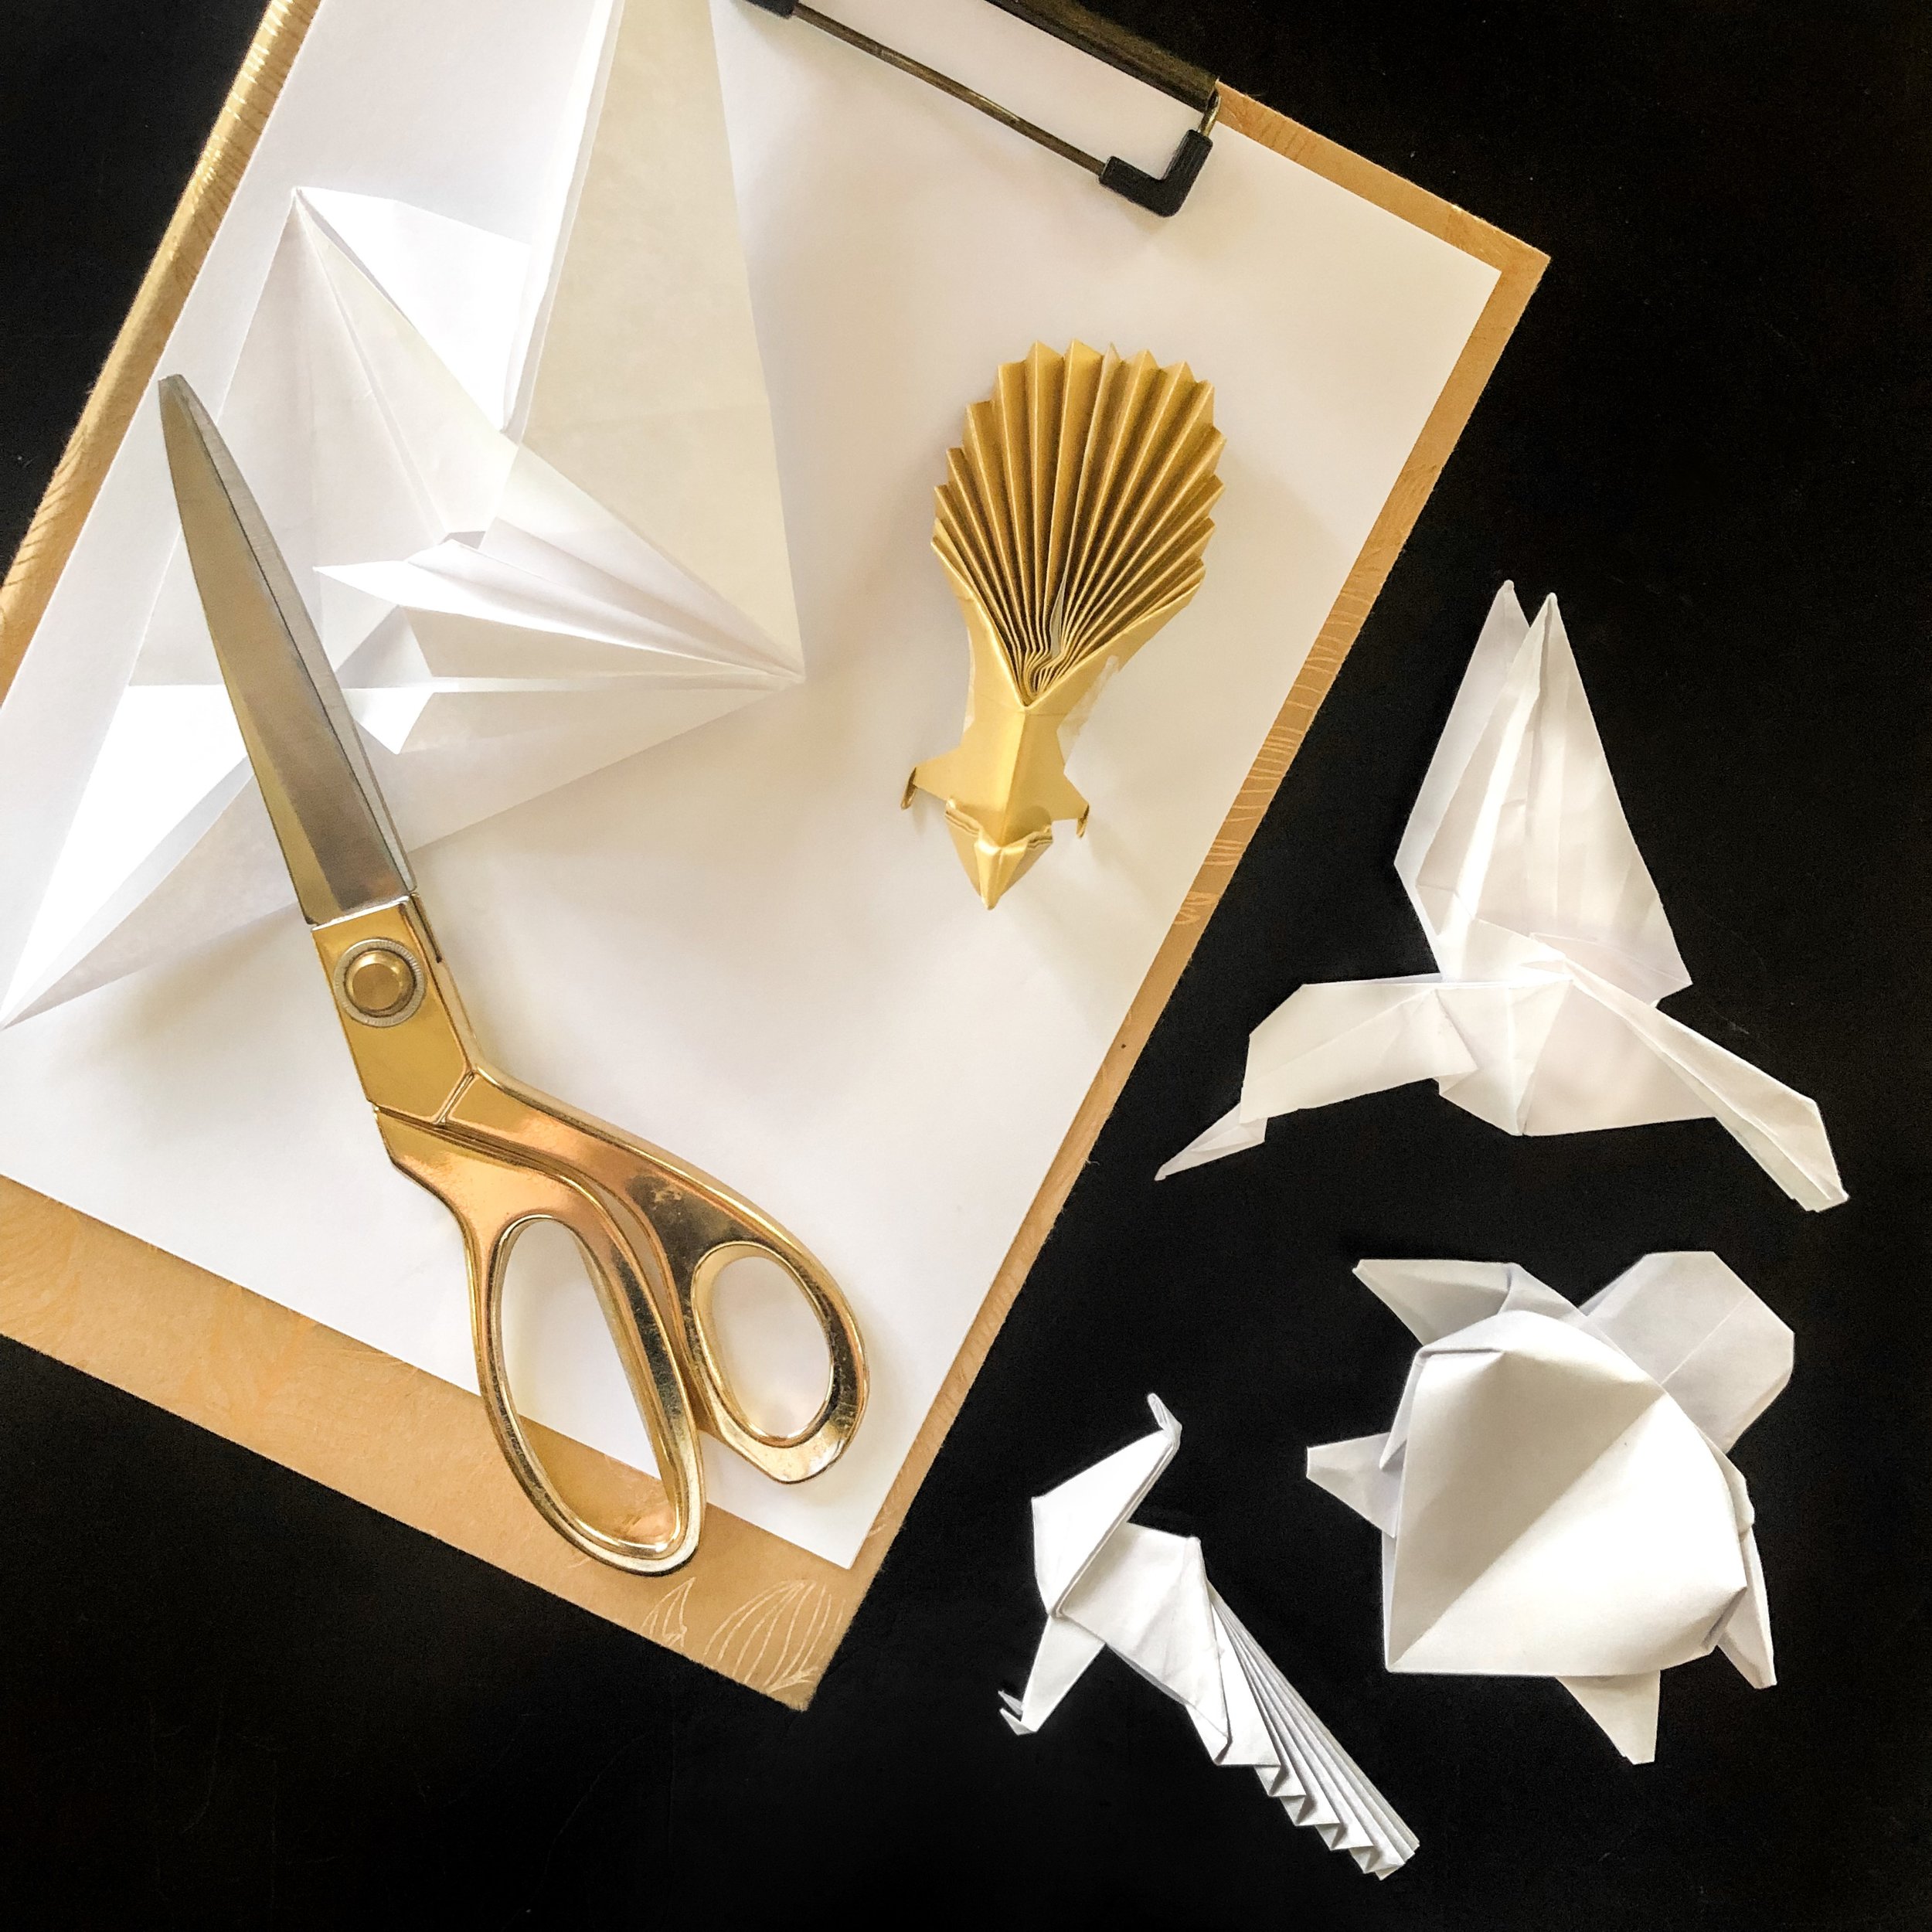
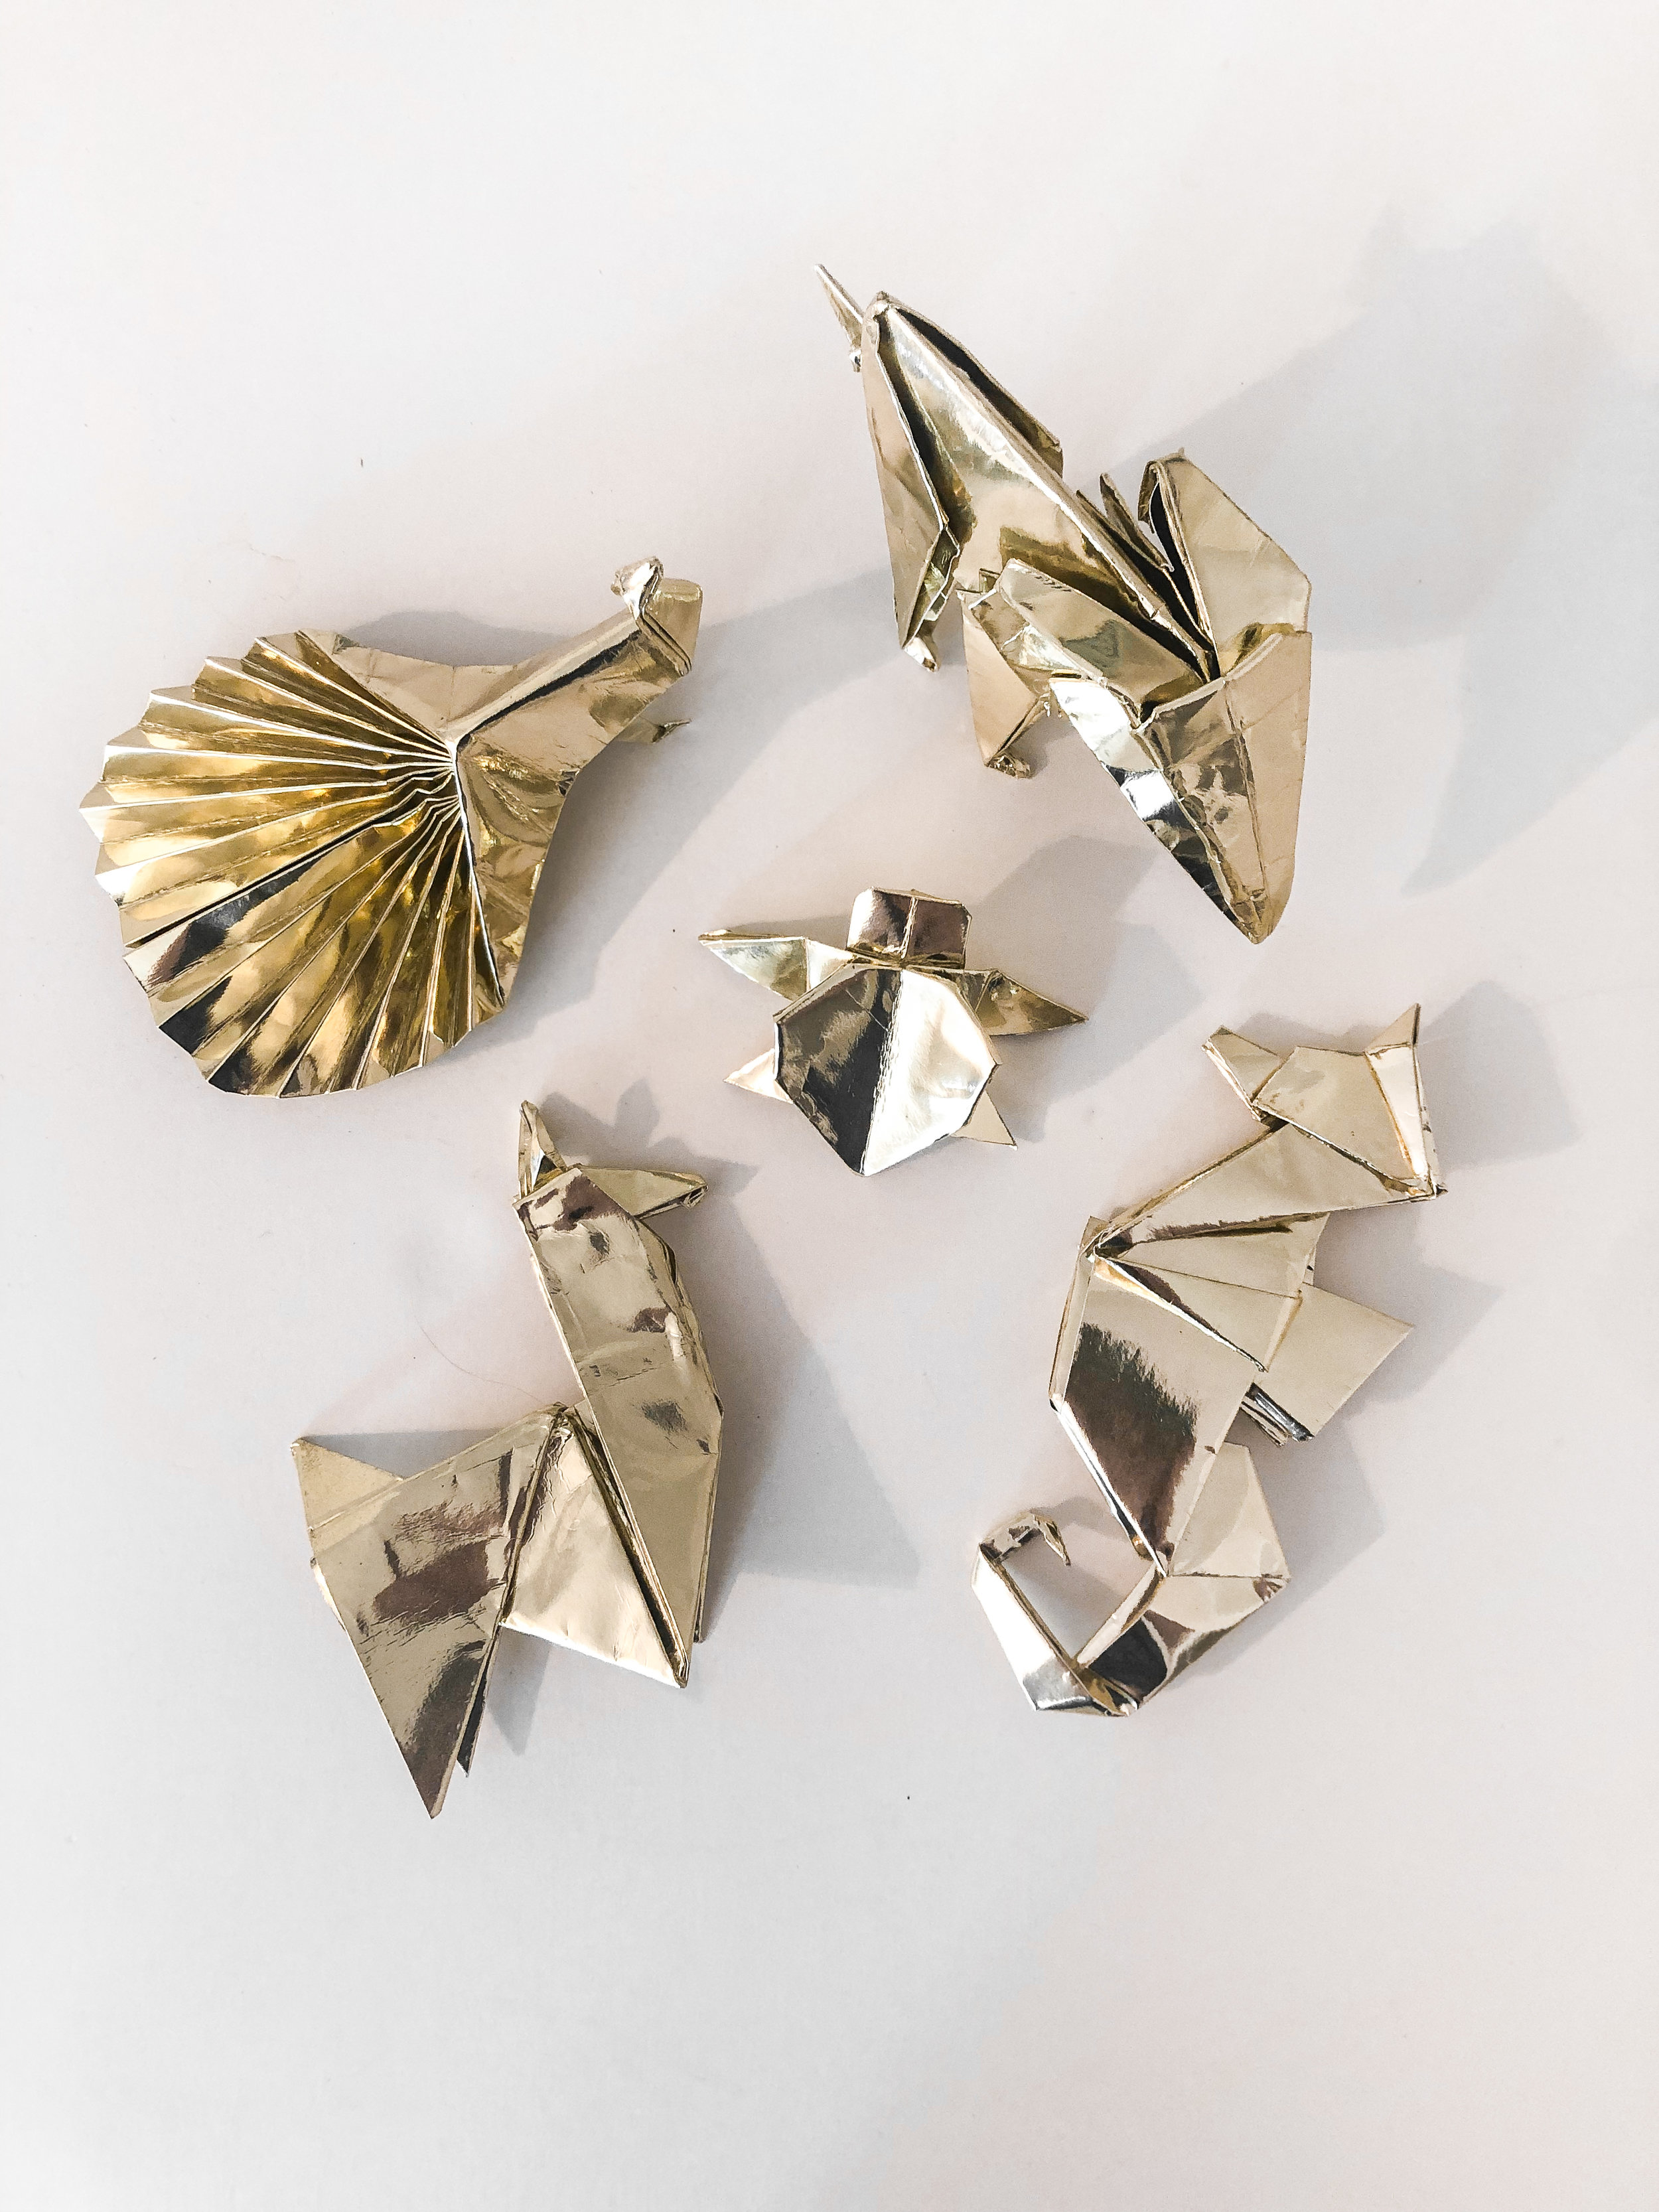
Coincidentally, we both have very vivid memories of sitting at the table with our parents, trying to make sense of an origami book my mom had. The animals were beautifully detailed and photographed in intricate, paper landscapes the author created as well…but I don’t remember being able to make very many of them due to the complicated diagrams in the book. Fast forward a decade and now I’m on the phone quickly scanning how-to videos thinking, yeah, I’m pretty sure I can do this now thanks to YouTube. (How did we ever make sense of that book?) I drove into Atlanta to meet with the director to brainstormed some ideas, I got her a quote, and then boom, the job was on the books. They needed four displays with eight pieces each, so thirty-two pretty, gold animals.
Doing this added some time that I didn’t account for with my quote for the work, but that’s what you get when you bid out a project before you do ALL the research.
Since some of these animals were going to be shipped to the Dallas and Las Vegas showrooms, they needed to be sturdy and hold their shape. I used clothes pins and a glue gun to stabilized some of the bigger folds and collapse them for shipping. (I know I know, VERY against the spirit of origami, but it worked perfectly). For hanging, I used a needle to thread the fishing line through some folds, then knotted a seed bead at one end so the line wouldn’t pull through (MUCH easier than tying a huge knot). It was hard to guess the center of gravity for each piece, but thankfully the gold paper is so shiny you can’t really see the unused holes I poked.
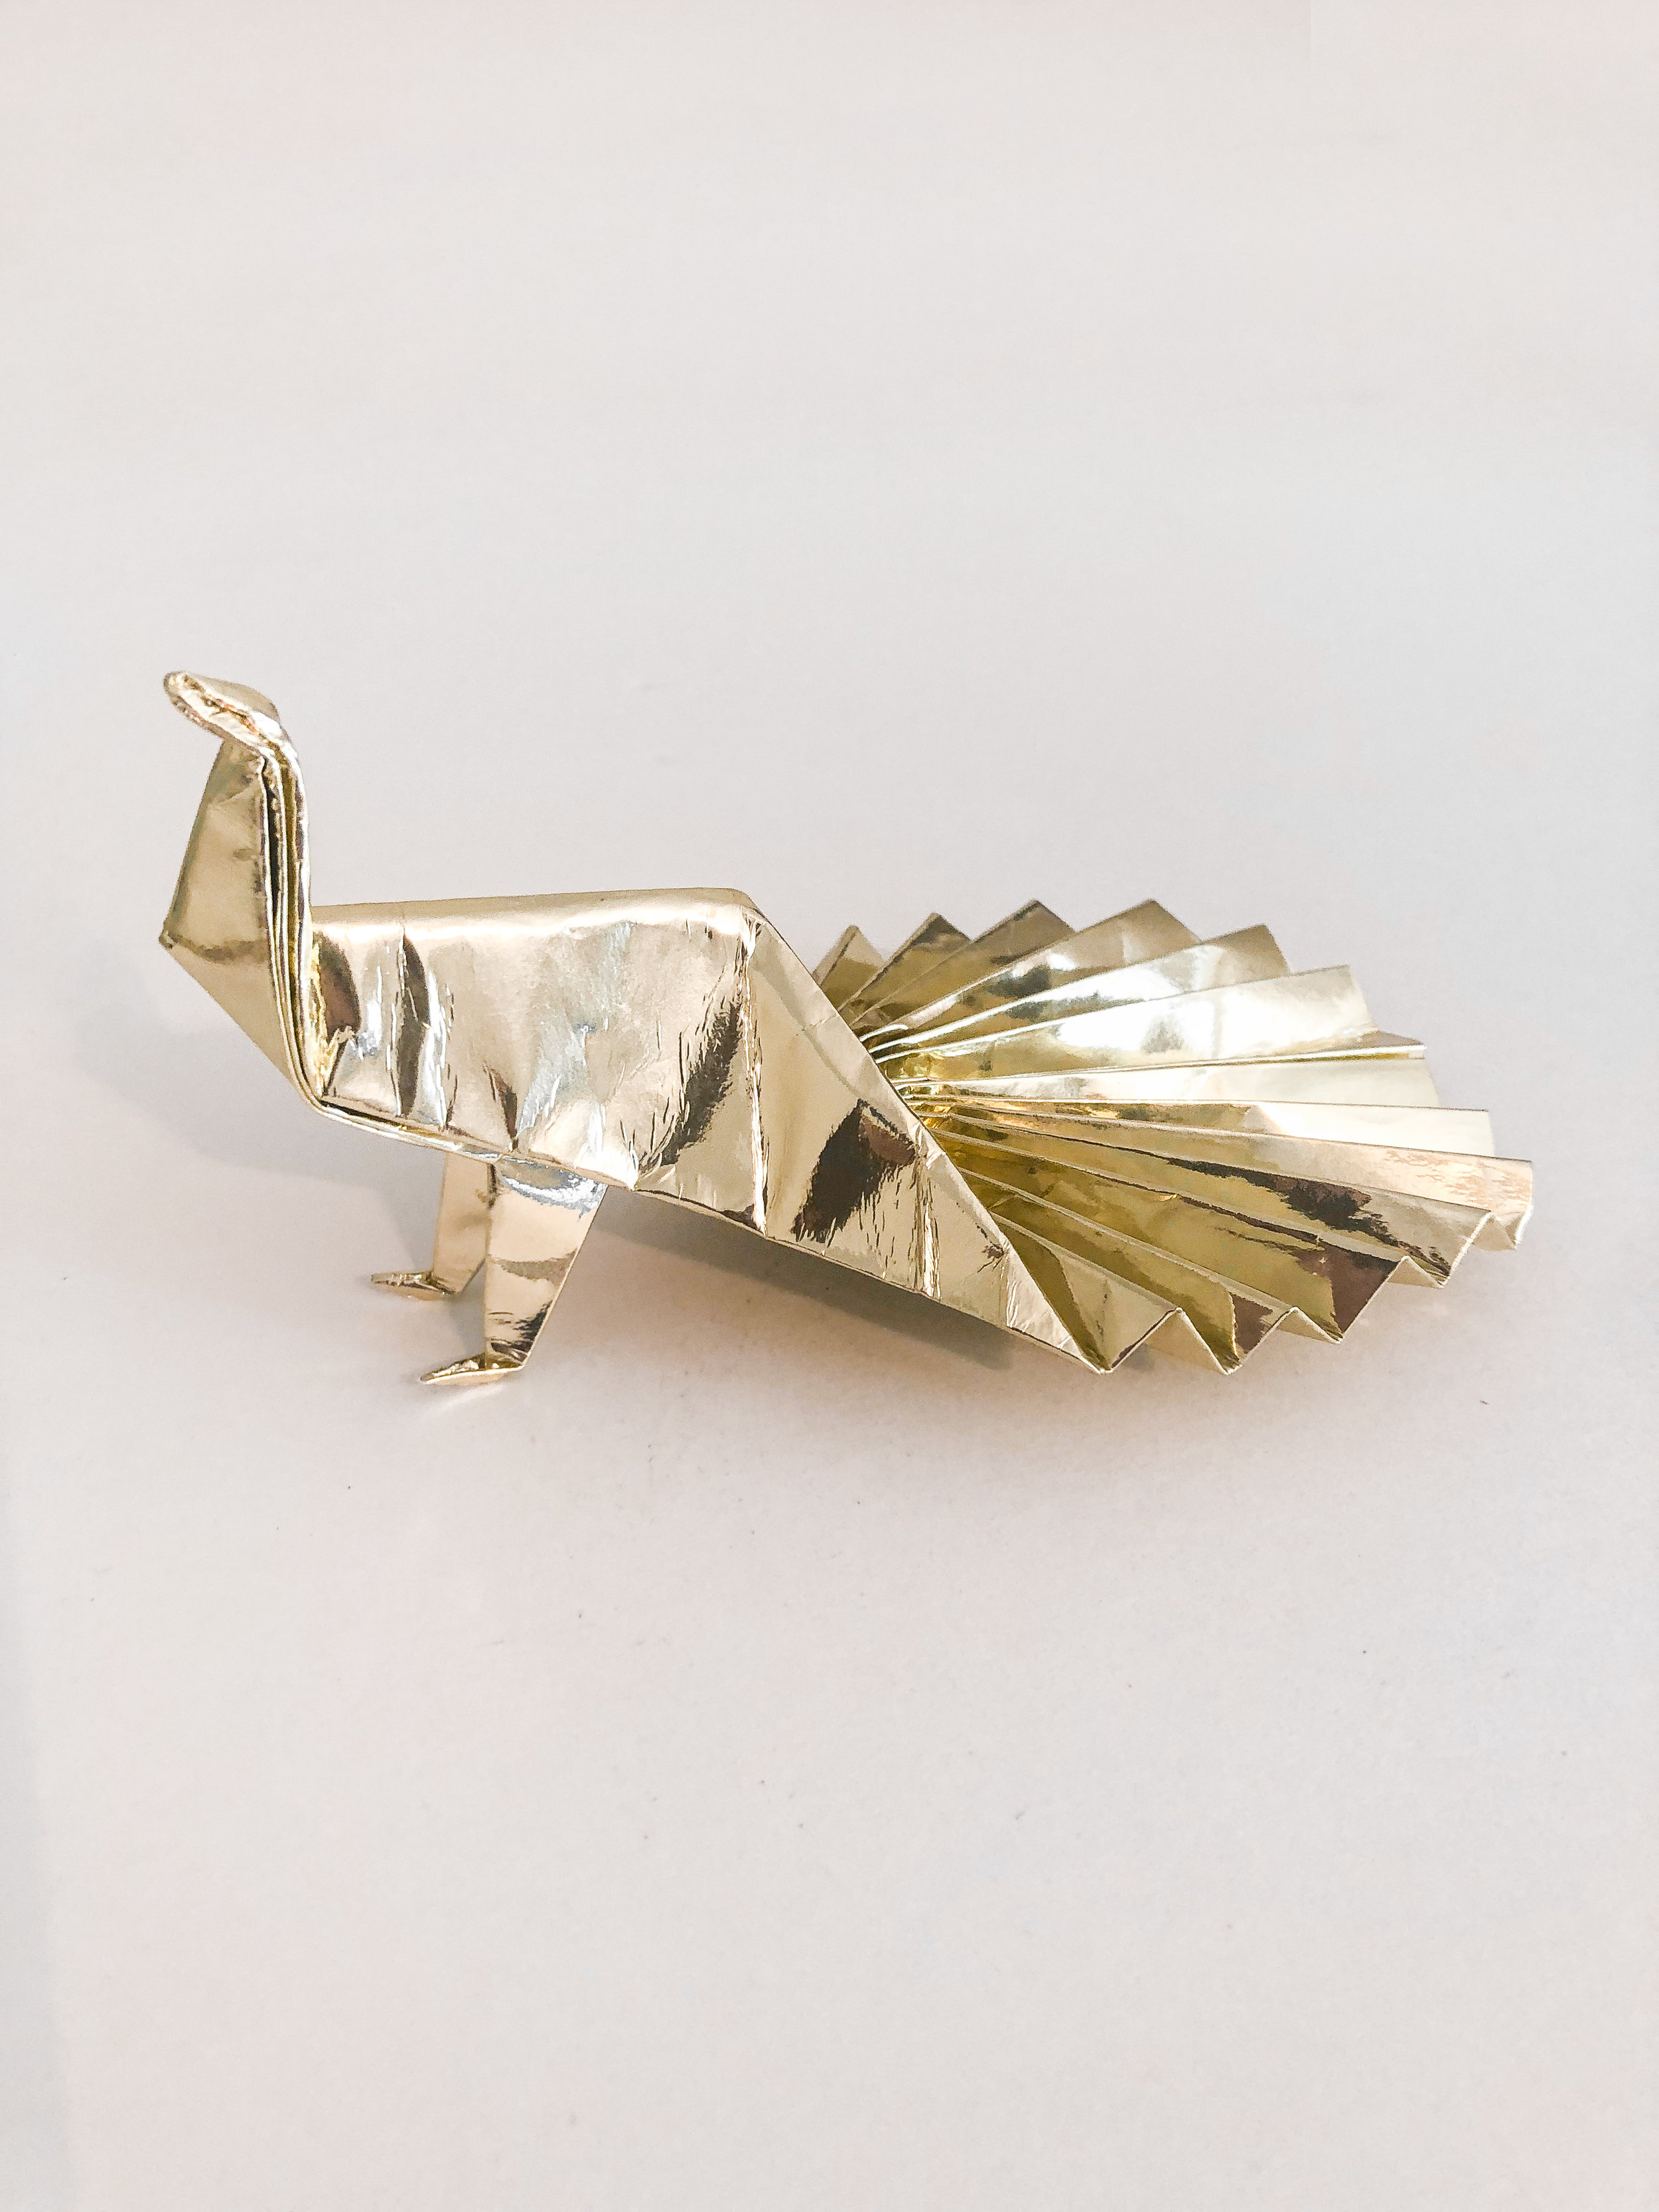
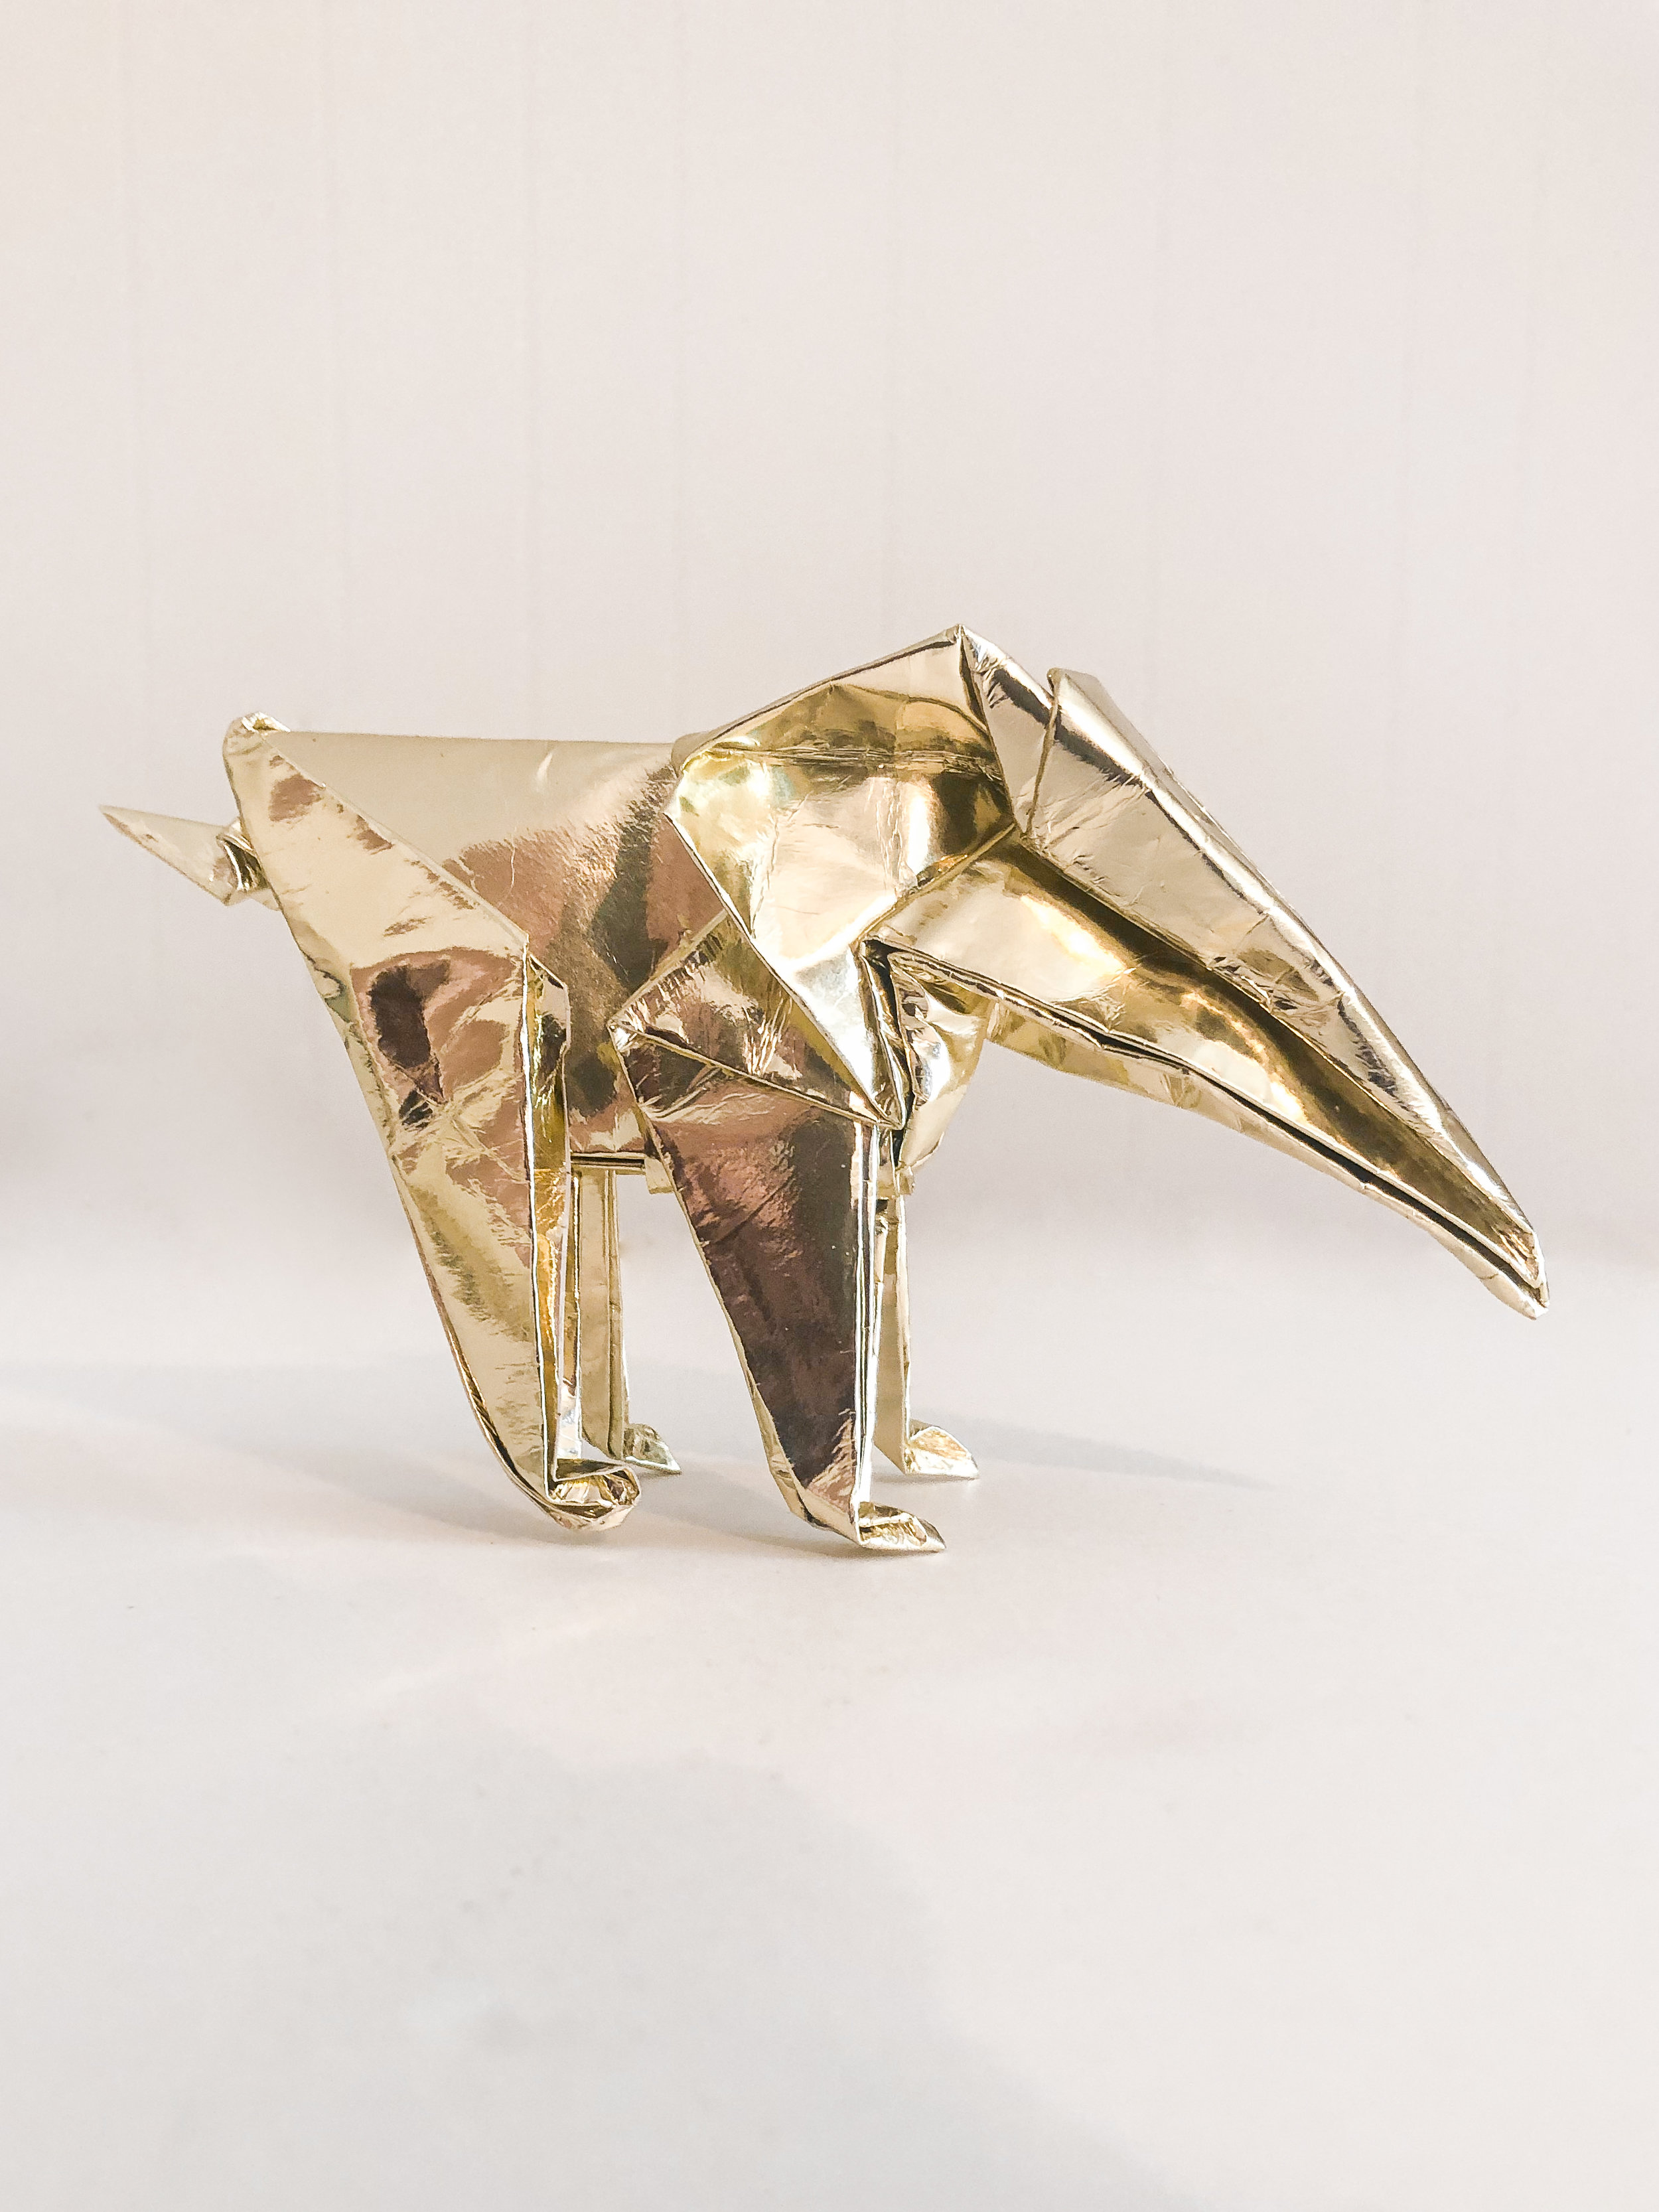
The end! I wanted to share this process because the resulting pieces really are gorgeous and seem like they would last for years. I could see them being beautiful in a nursery or as party decorations. Below are links to the video tutorials I used, but if you don’t like how those look, there are many variations for each animal if you just search “Origami ____”. I also recommend making an 8.5” x 8.5” test for each animal to see how big you want your final piece of paper needs to be. The elephant requires a 14” x 14” piece of paper to get a 5” tall animal, while the sea turtle only needs a 10.5” x 10.5” square. (I’ve listed the sizes I chose for each animal in the set.)
After doing a little more research though, I got a little hung up on something.
I needed double-sided GOLD paper, thin enough to fold over many times, sturdy enough to take the folding, and much larger than 8.5” x 8.5” (being that most origami animals start as a square piece). Amazon, Walmart, Joanns, Hobby Lobby, Michaels…no one had it and I’m pretty sure it doesn’t exist. What I did find were rolls and rolls of gorgeous gold wrapping paper, which was perfect for cutting to the sizes I needed but it’s single-sided. The only solution would be to try folding it over and glueing it together as one double-sided piece, which sounded messy and impossible.
But it WORKED. I used spray adhesive (even though it’s a nightmare) because it does get great coverage and dries quickly. The resulting piece behaved more like fabric or vinyl than paper, which was perfectly resilient when it came to being folded, unfolded, and refolded a million times. Some of the pieces got a little thick, but all you need is a tool to help press down those folds and you can make it work.
I’m hoping to put together a more detailed how-to video, but for now, that’s a summary of the project!
Feel free to reach out if you want to make some of your own and have questions on getting started.


